Perspective Drawing Guidance for B.Arch (NATA/ JEE 2/ AAT) Entrance Examinations
Perspective is a drawing method for creating three-dimensional drawings on a two-dimensional (flat) surface (paper). Perspective makes a drawing appear to have form, distance, depth and real-life look. The rules of perspectives do not change, whether it’s a landscape scenery, sea scene, still life, interior space, portrait, or figure drawing.

Perspective viewpoint
Viewpoint is the spot (point) from which you, the viewer, is looking at (viewing) the scene. All perspectives are worked out according to this viewpoint.
In your Architecture Entrance Examination, the examiner will fix your viewpoint, and accordingly, you have to plan your composition and figure out the perspective.
Normal viewpoint is how an adult sees the world when standing up. The standard of this viewpoint is 5’ or 150 cms from the ground level.
A low viewpoint is when you’re looking at a scene from much lower than you would be if you were standing up. For instance: if you were sitting on a chair, had crouched down onto your heels or, even lower down, sitting on the grass. Of course, it’s also the level from which small children see the world.
A high viewpoint is when you’re looking down on a scene. You might be on a ladder, up on a hill, or on the balcony of a tall building.
The rules of perspective don’t change between a normal, low, or high viewpoint. The same rules apply in all cases. What changes is what you see in a scene. The rules of perspective help us interpret and understand what we’re seeing, and enable us to “get it right” in our drawing in question.

Perspective Observation 1: Using your mobile camera click an object from various eye levels and check the differences.
Perspective Observation 2: Using your mobile camera click the same scenes from:
- a standing viewpoint
- a low viewpoint and
- a high viewpoint.
E.g., a dining room view from (1) a teenager’s eye-level (2) From a two-year-old child’s eye-level (3) From a height standing on a table.
Observe these images to understand how your perspective will look in drawing form.
The Horizon Line
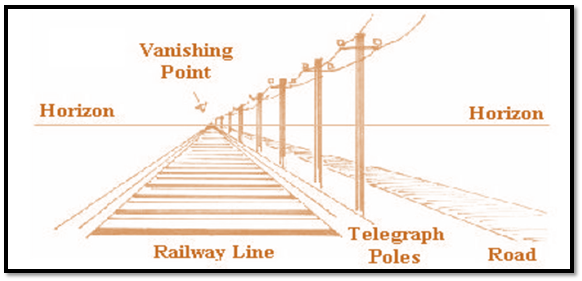
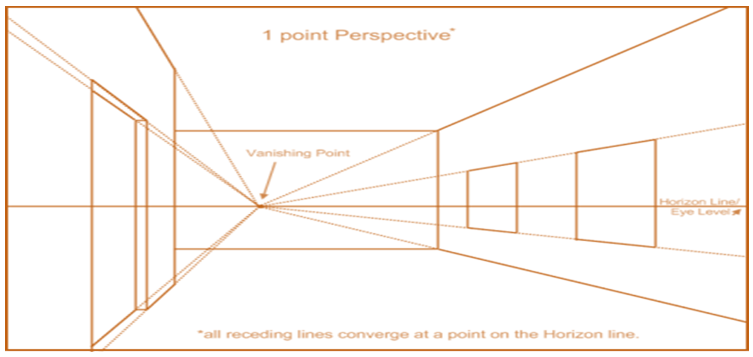
The horizon line is an imaginary line used to create accurate perspective in the drawing. Anything above the horizon line slopes down towards it, and anything below the horizon line slopes up towards it.
Perspective Observation3: Spend some time observing how objects are positioned in relation to your eye level, whether they’re sloping up or down (or parallel to it).
Vanishing Lines in Perspective


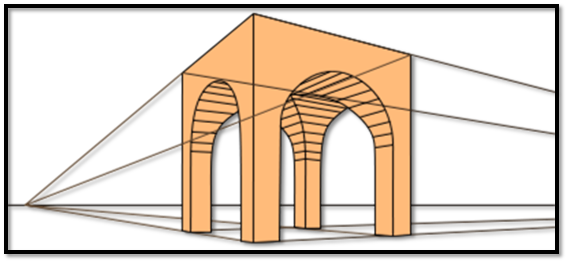
Vanishing lines are the imaginary lines drawn from the viewpoint and is used to create accurate perspective in the drawing. They are drawn on the top and bottom horizontal edges of an object, along the object and then extended all the way to the horizon line. For instance, on a building, there would be a vanishing line along the top of the roof and the bottom of the wall(s).For a window, the top and bottom of the frame.
If you’re creating a drawing from the given data in the B.Arch drawing Question, and aren’t sure how large to make an object, you can judge it by what else is in that part of the drawing. For instance, if you have a tree and you want a person standing next to it, the tree will likely tower above the figure (unless it’s a sapling, of course). If the person is standing next to a car, they’ll likely be taller if they’re an adult. For this, however, you will need to know the approximate measurements of objects in daily life. E.g., the sizes of furniture, the height of a door/window, height of a room, height of a regular tree, etc.
